
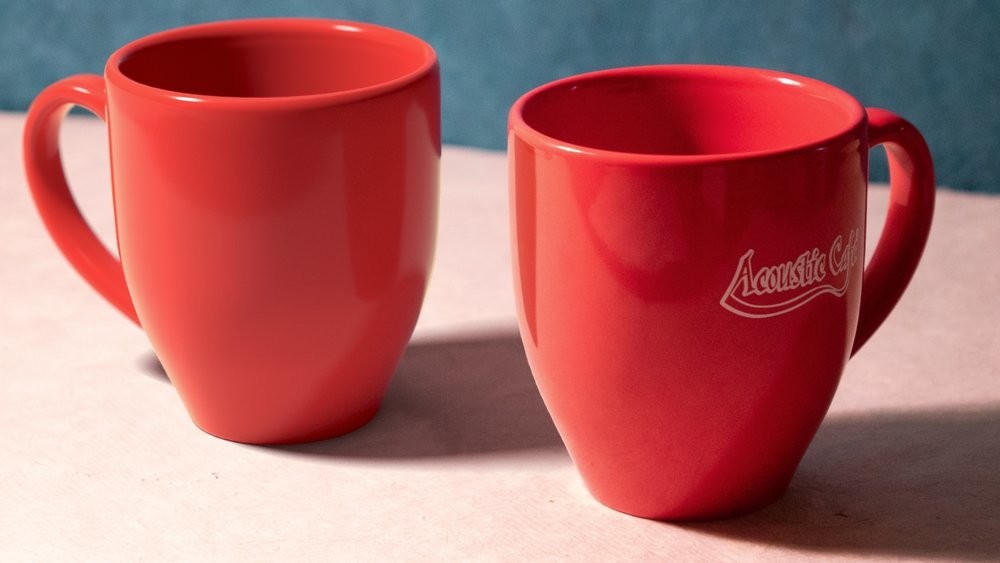
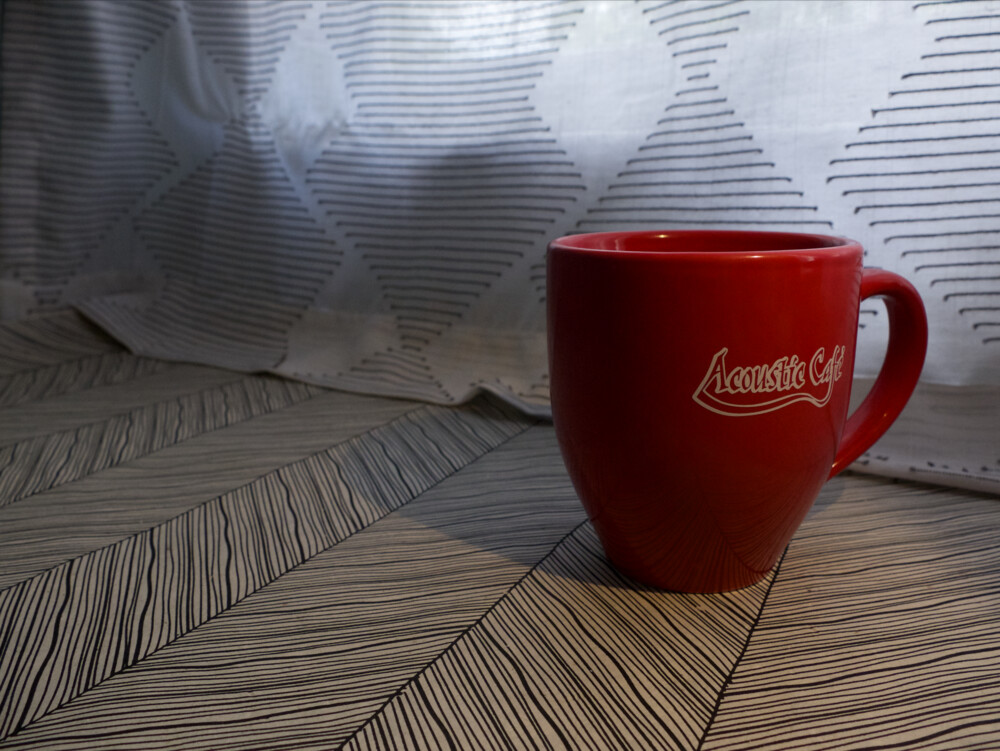
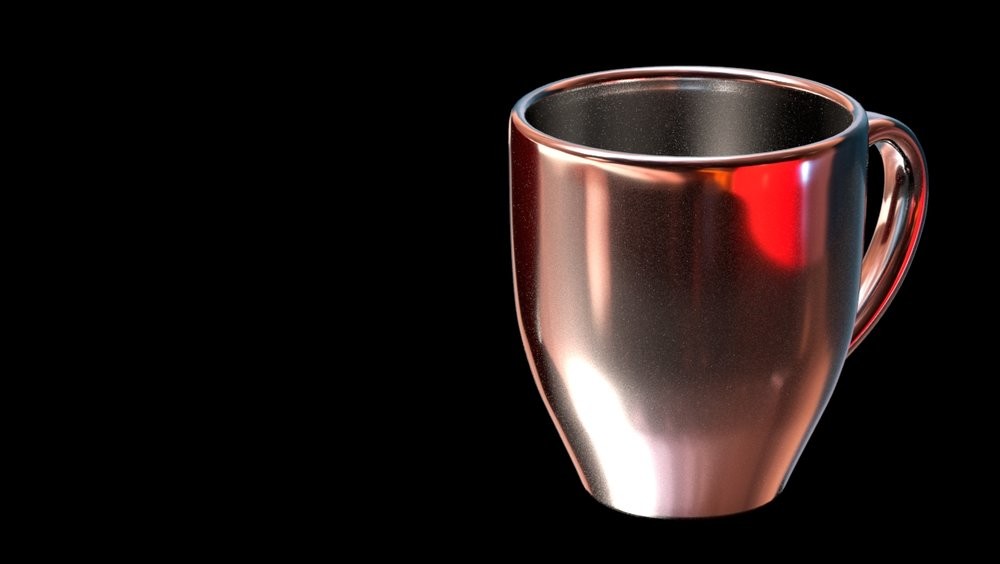
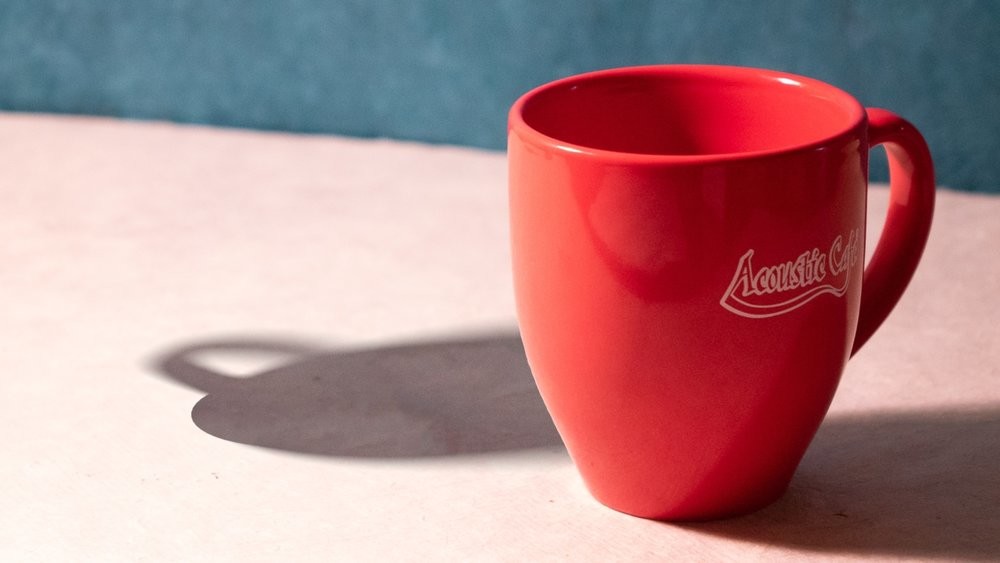
Final Result
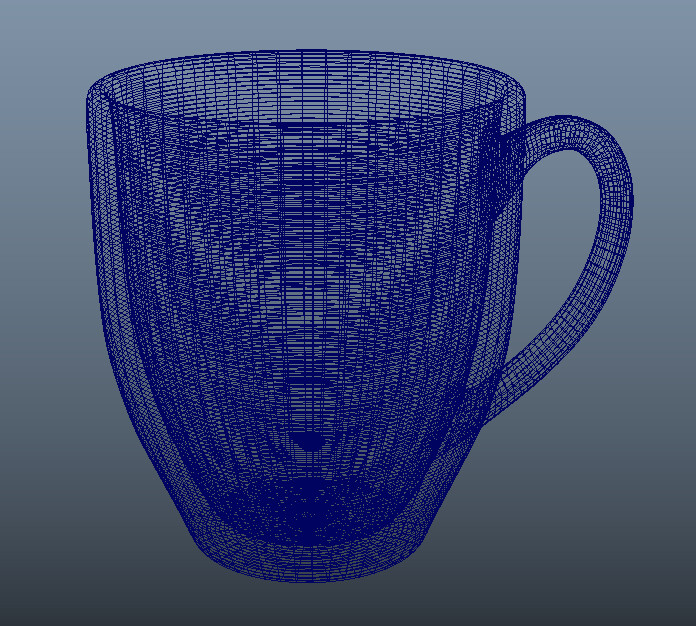
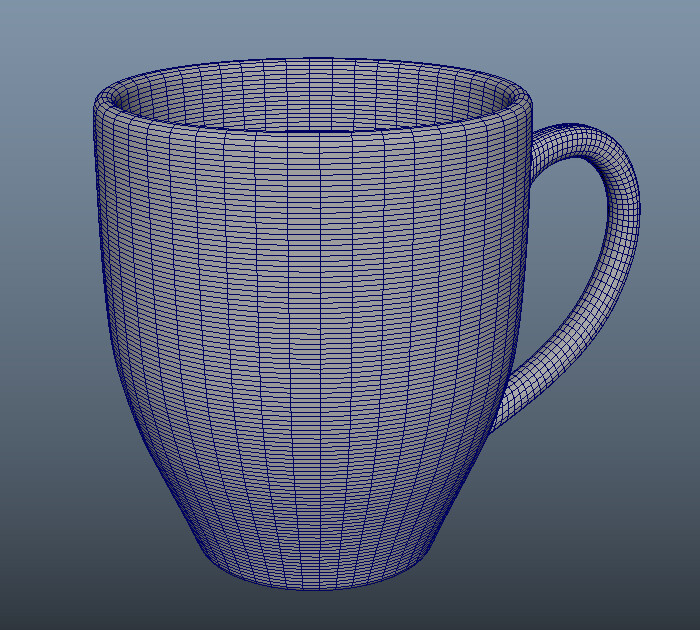
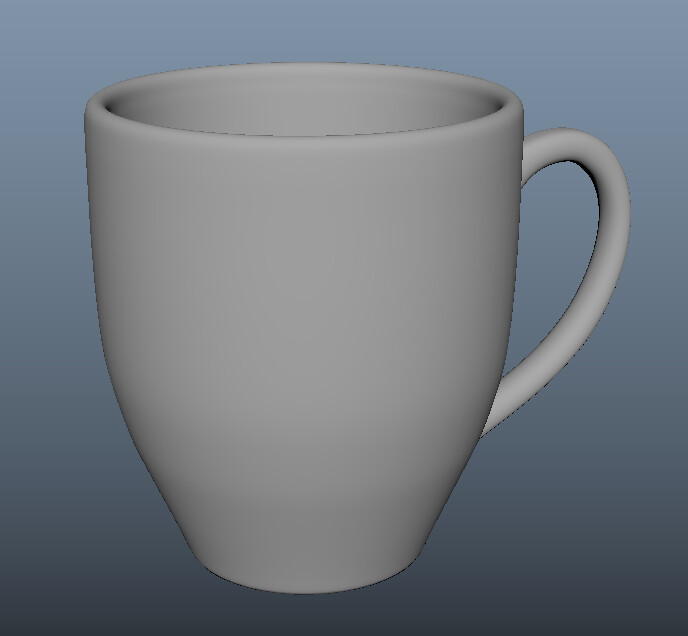
Object Modeling
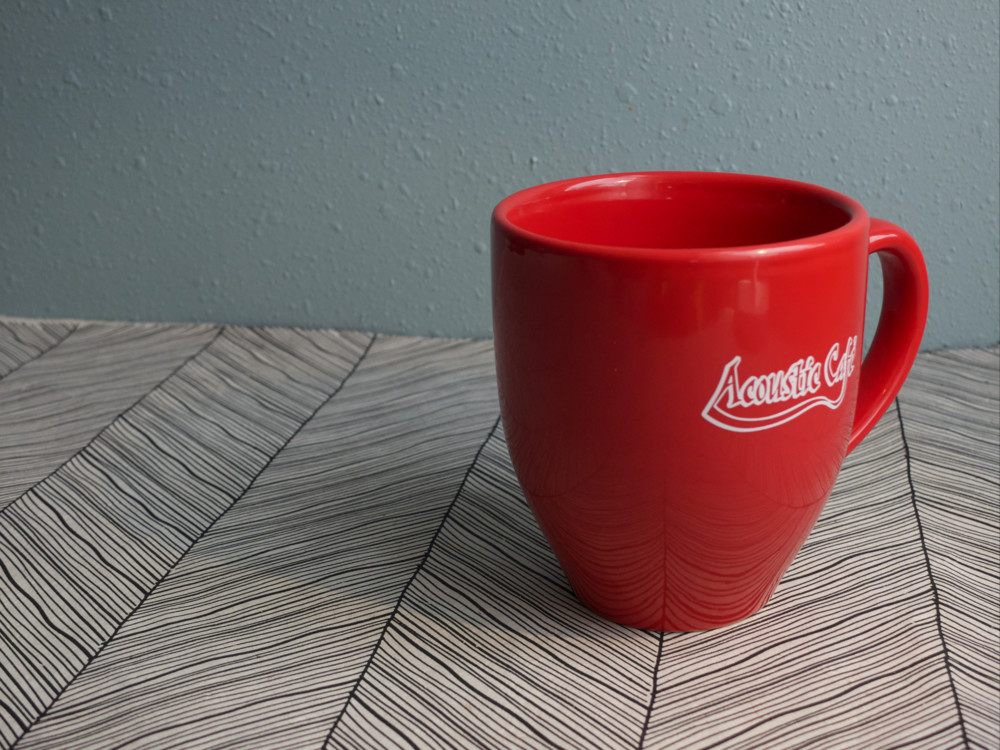
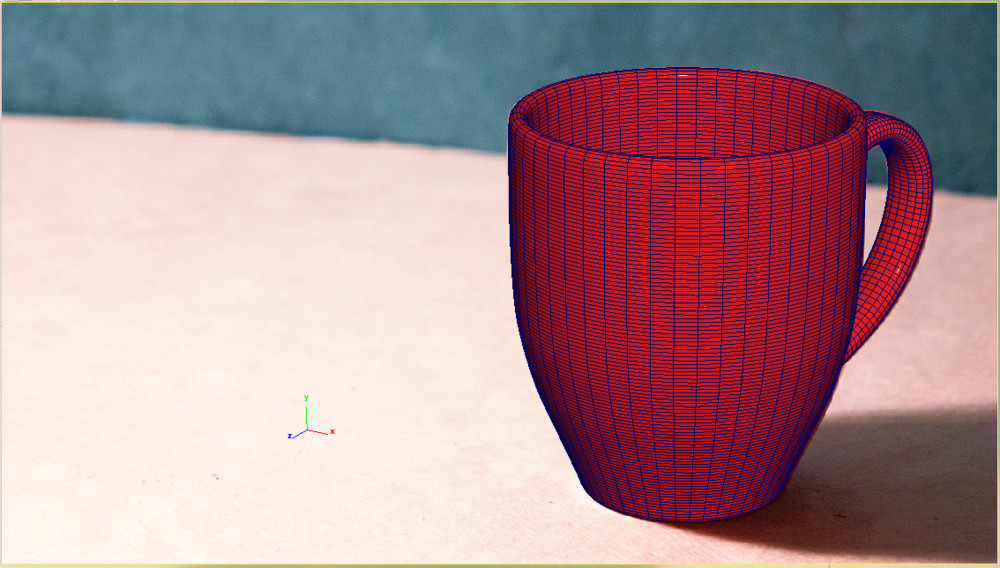
I took a photo of the mug that I planned to use in the shot with with a high focal length of 165mm to have the least perspective possible. Then I brought the image into Maya and used it to to create a curve of the profile of the mug. I then revolved the curve to get the whole shape. Then I edited the surface to get a slightly more accurate shape and converted it to polygons.

Photography
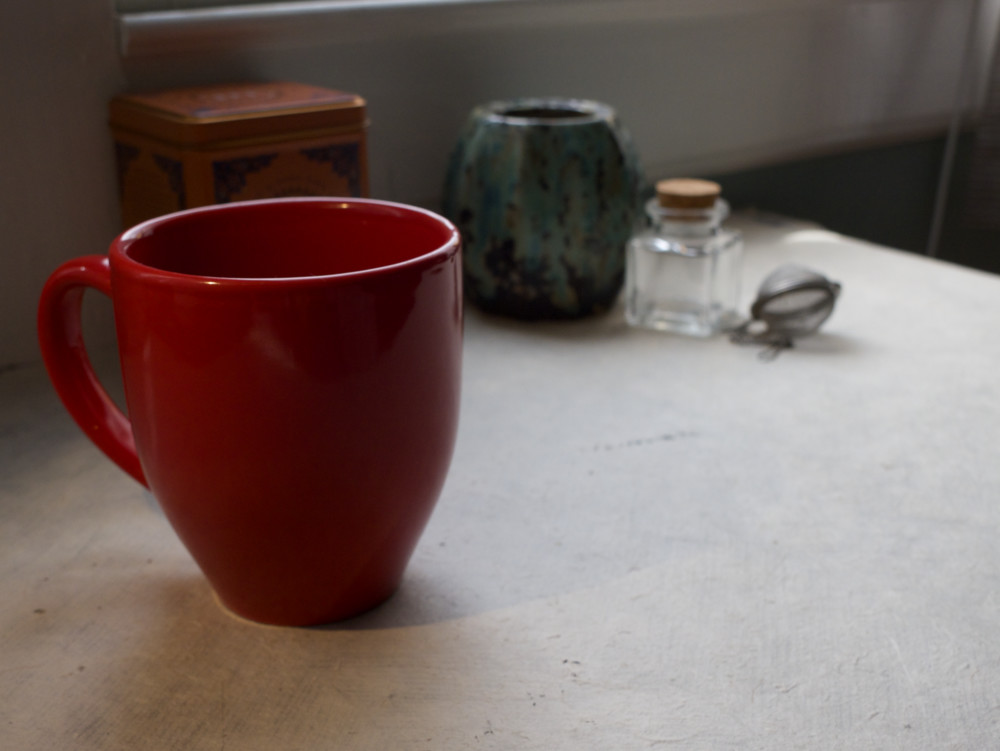
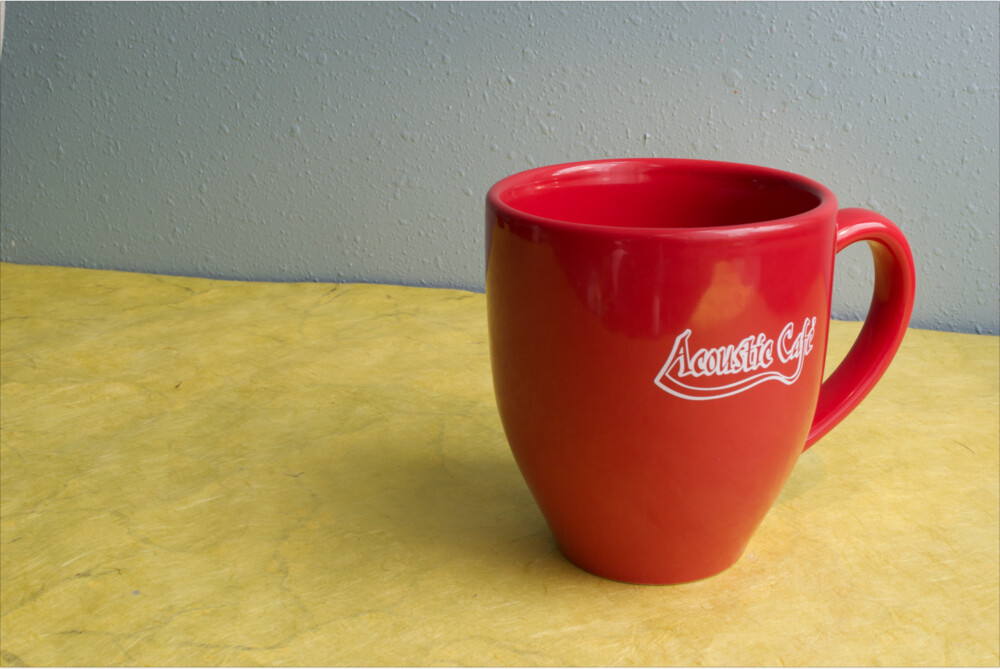
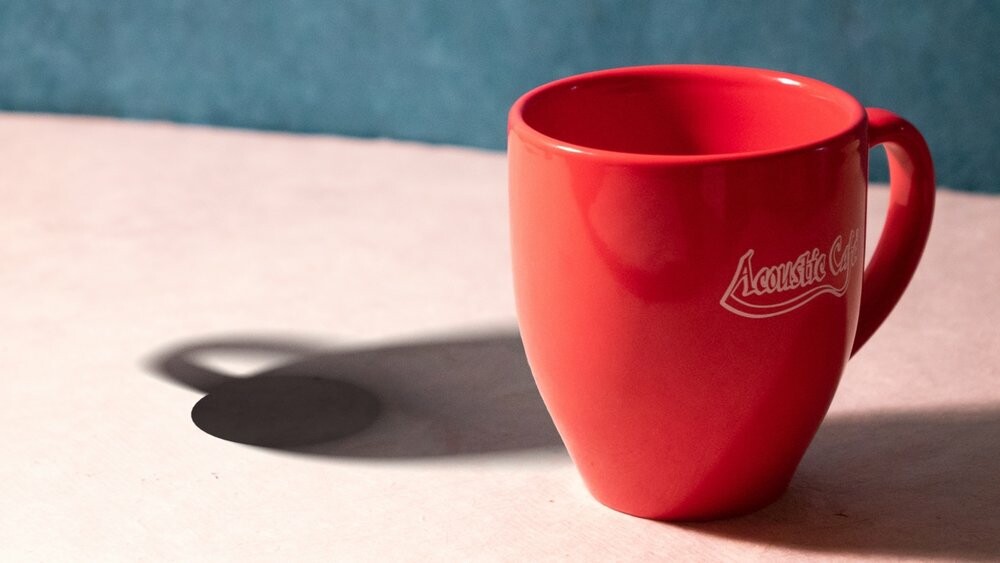
I initially took these 5 image sets but ran into problems with multiples of them not really having any color bounce on the ground surface. Additionally the mug wasn't large enough in frame. Because of this I took new photos and focused on color bounce.

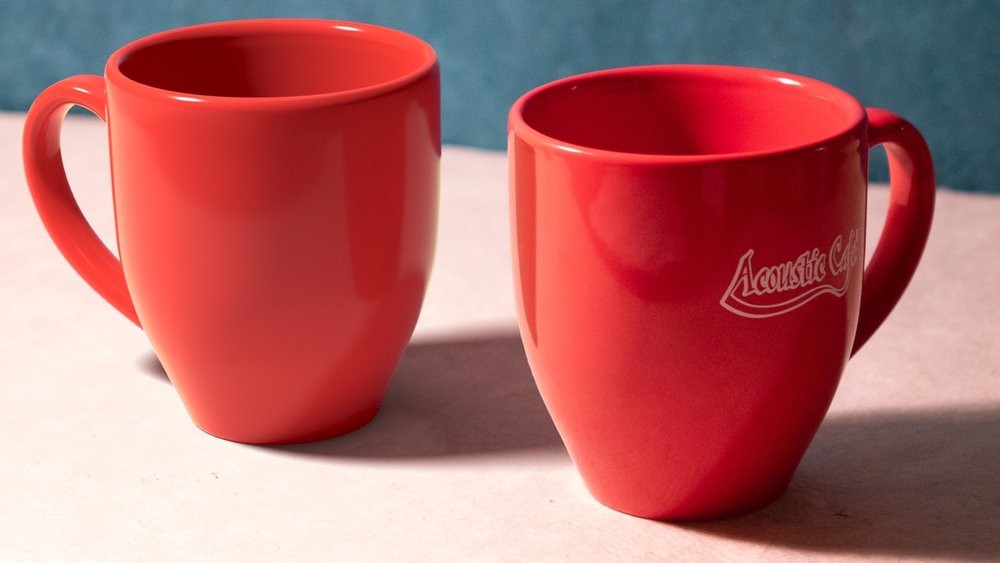
This one was large in screen and had an obvious color bounce of red in the mugs shadow. In addition to the clean plate there are 4 other images below that are used to help setup the camera and lighting.


Camera Setup


I first set the focal length of the camera to the same as what I used to take the original picture. If you forget you can easily check by looking at properties of the image and then details. Then I used the Cube in order to find the right perspective and position of the camera in Maya.
Lighting Setup
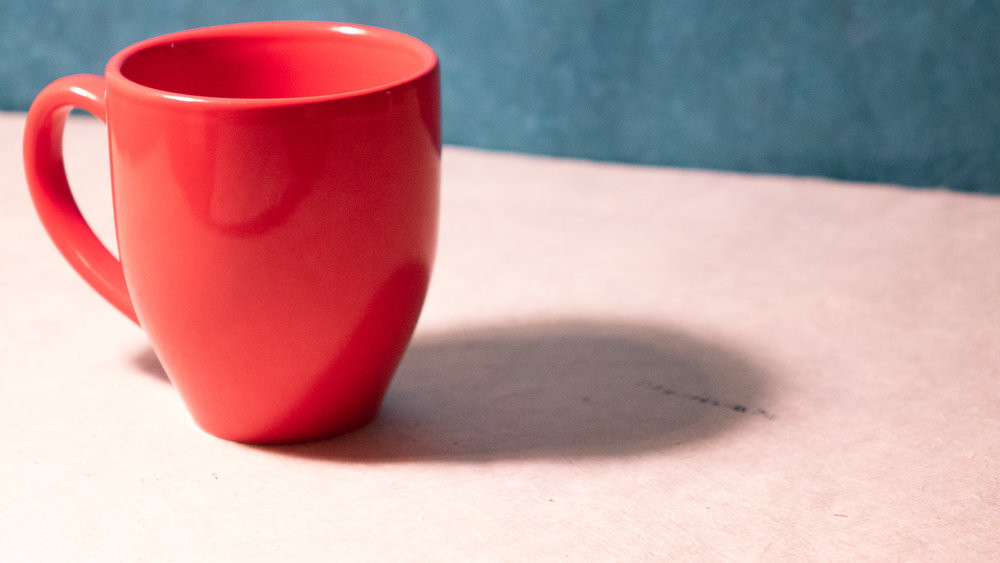
After getting the camera setup you need to get the basics of the lighting setup. First thing I did was create a spotlight and use the cube and sphere (both matched to our pictures above) to create our key light. The cube and sphere are used to match the shadows in the picture to the shadows cast by your spot light.
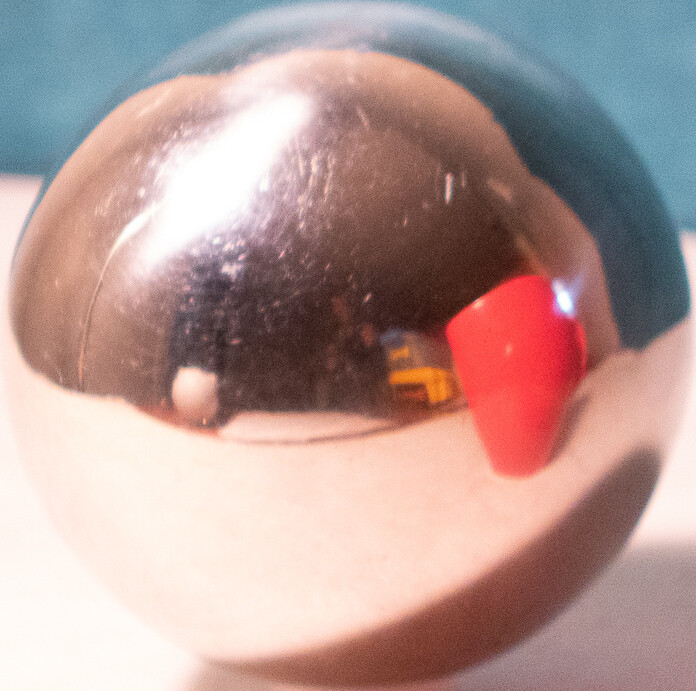
Then I cropped the image with the chrome ball to the edges of our sphere. Then we can use this image as our dome light to work as a fill light for the scene. This pics up the general lighting of the environment as well as will help in the reflections of the object.
In order to set that up you need to create a sphere and then assign it a surface shader. In the Out Color of the surface shader we assign the cropped chrome ball. You then want to position the center of the stretched side of the texture in the middle of your camera.
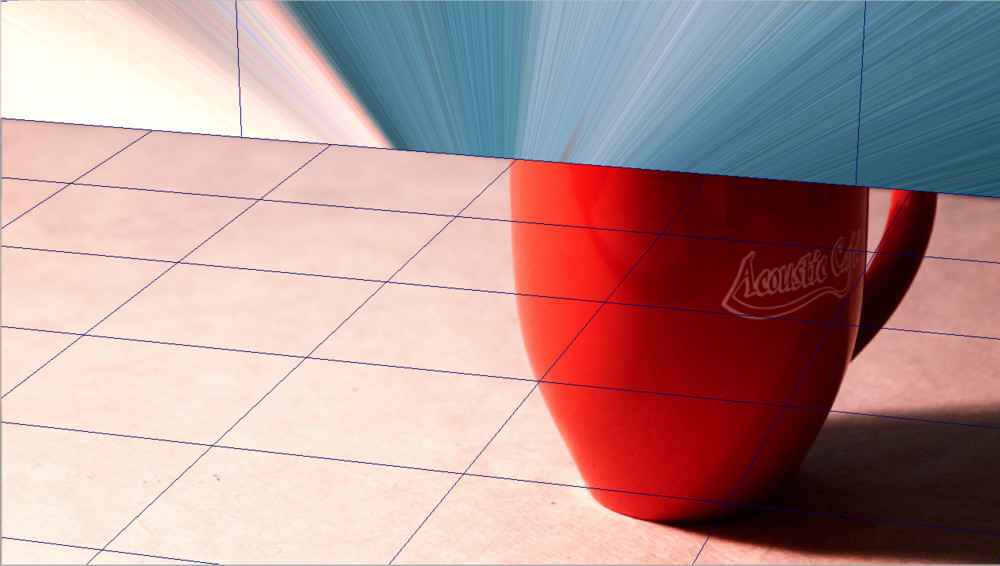
Additionally, we want to use the original image as our ground plan in order to get the correct color and reflections onto the object.
We will want to create a new surface shader. In Out Color we want to right click file and choose to create as projection. then in the projection attributes change Proj Type to Perspective. Now under Camera Projection Attributes change the following. Link to Camera: Your Render Cam, Fit Type: Match Camera Resolution, Fit Fill: Fill.
Object Setup
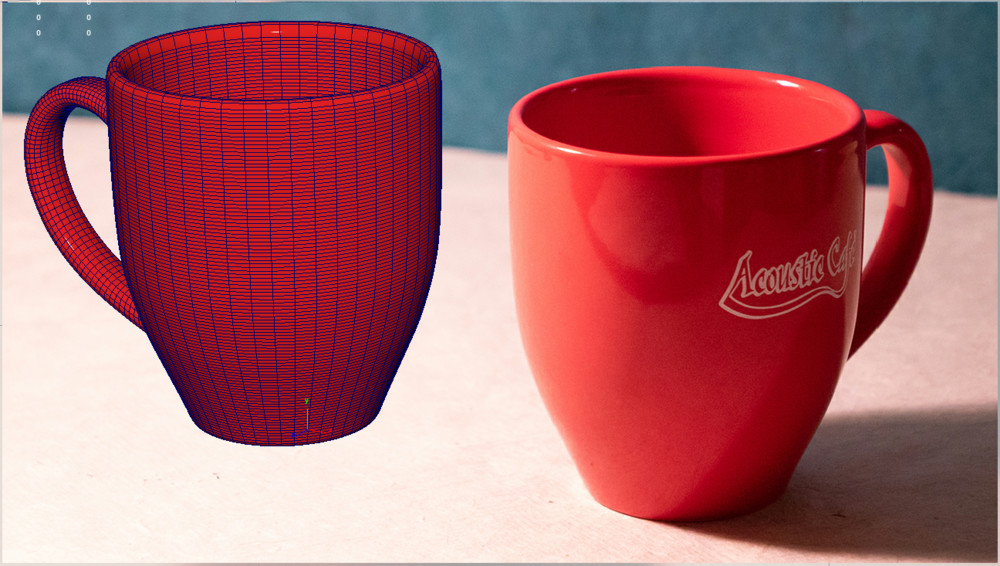
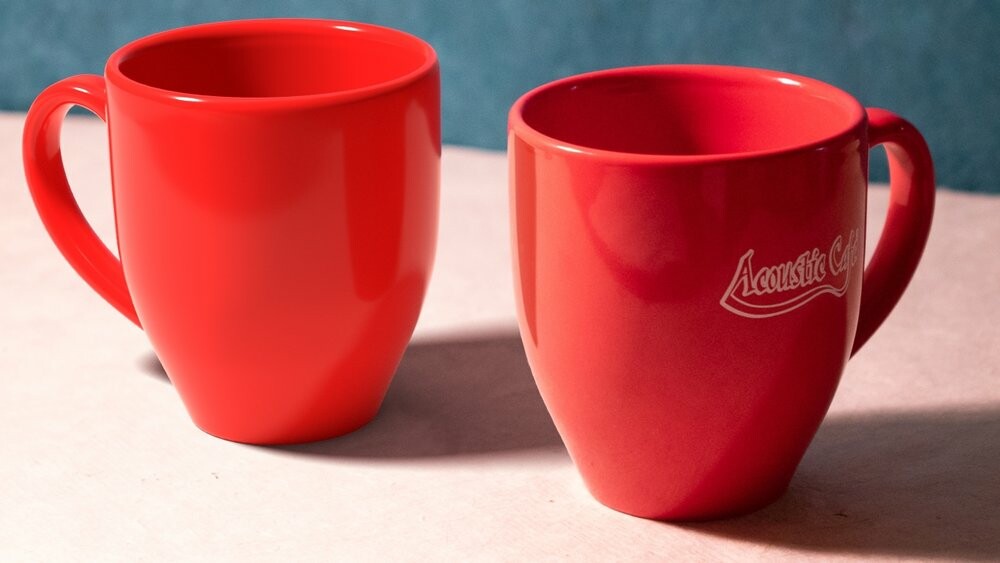
Now that we have the lighiting and camera setup it should be easy to setup our object. I brought in my mug I modeled in the beginning and matched it into the position of the original and the twin mug that we are compositing in. The original mug will be used to make a mask layer later.
Render Passes
I used 7 different render layers. They are as follows: Beauty, Shadow Mask, Occlusion, Beauty Shadow, Original Mug Mask, Original Mug Reflection, Original Mug Reflection Mask.

Beauty
This is just your mug as it is affected by all the light sources as well as the original mug.
Objects in layer: Original Mug, Twin Mug, Ground, Dome, Key Light
Primary Visibility On: Twin Mug
Primary Visibility Off: Ground, Dome, Original Mug
Shadow Mask
For this layer we are creating the shadow mask. We want to create a aiShadowMatte for the ground.
Objects in layer: Twin Mug, Ground, Key Light
Primary Visibility On: Ground
Primary Visibility Off: Twin Mug
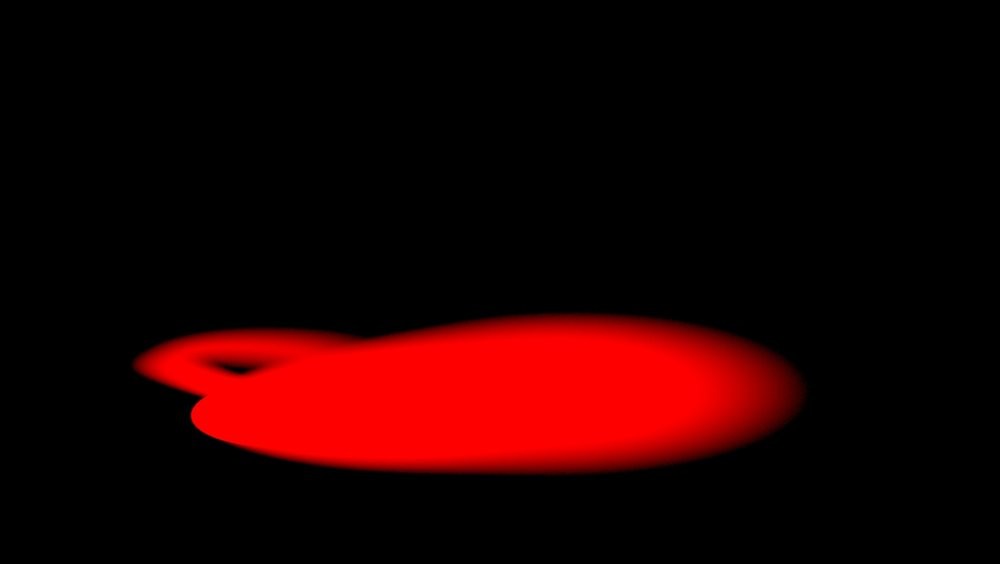
Beauty Shadow
This shadow is used to get some of the reelected color of the Twin mug into the shadow. Create a duplicate ground plane and set it to the color of the original ground surface.
Objects in layer: Dome, Ground Duplicate, Twin Mug, Key Light
Primary Visibility On: Ground Duplicate, Key Light
Primary Visibility Off: Twin Mug, Dome

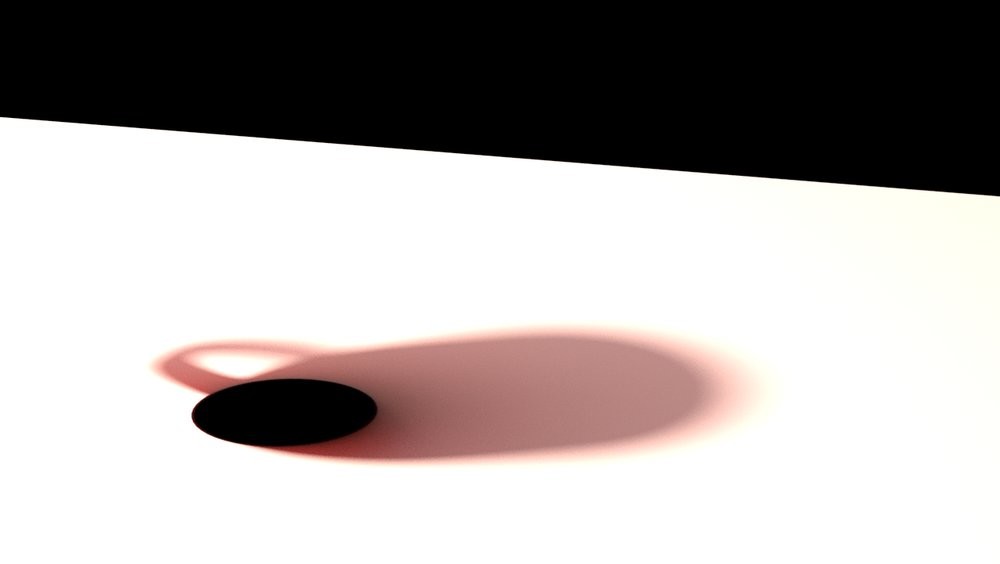
Ambient Occlusion
We need to set the ground to an aiAmbientOcclusion material. In that material you need to adjust your spread and falloff as needed for your image. Also make the black color white and white color black as we are using this as a mask in the composite.
Objects in layer: Ground, Twin Mug
Primary Visibility On: Ground
Primary Visibility Off: Twin Mug

Original Mask
For this layer we want the original mug with a white surface shader so we can use this as a mask over the other layer.
Objects in layer: Original Mug
Primary Visibility On: Origianl Mug
Original Reflection
We need to assign the original mug to a new shader and set the IOR to 50 to create a mirror shader in order to get a reflection of the twin mug on the original mug.
Objects in layer: Ground, Twin Mug, Original Mug, Dome, Key Light
Primary Visibility On: Original Mug, Key light
Primary Visibility Off: Twin Mug, Ground, Dome,

Original Reflection Mask
We need to assign the twin mug a surface shader and set it to the color of the mug and set the original mug to the mirror shader again. this will show exclusivly where the twin mug shows up in the original mug.
Objects in layer: Original Mug, Twin Mug
Primary Visibility On: Original Mug
Primary Visibility Off: Twin Mug
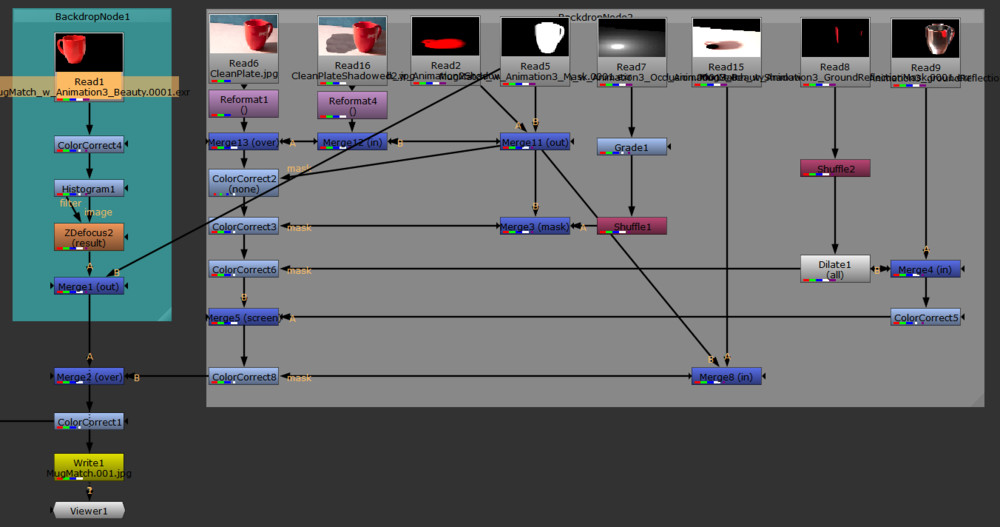
Compositing
Now we have all of our render layers now we need to composite them all together to create the final image. Below is my composite tree I created in Nuke.
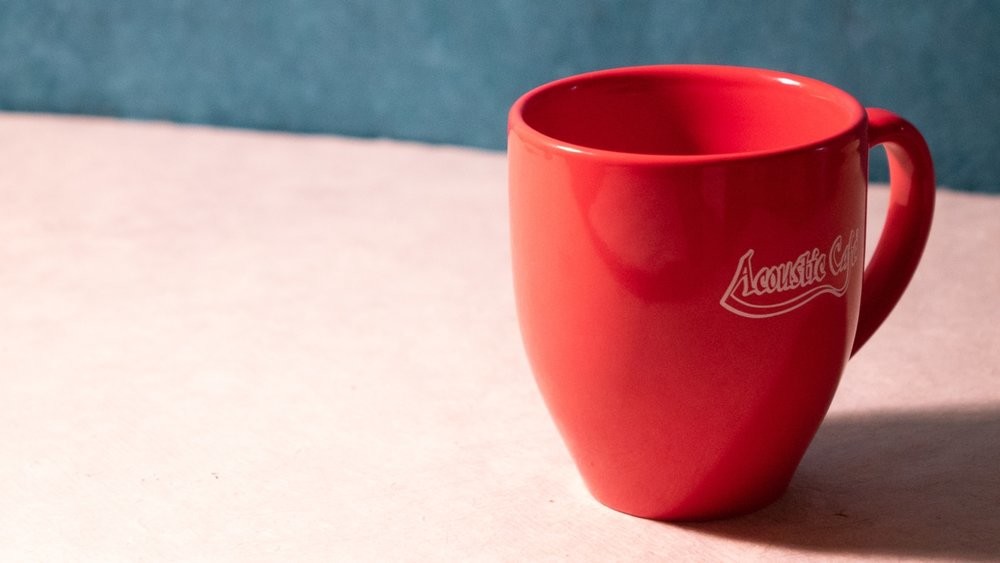
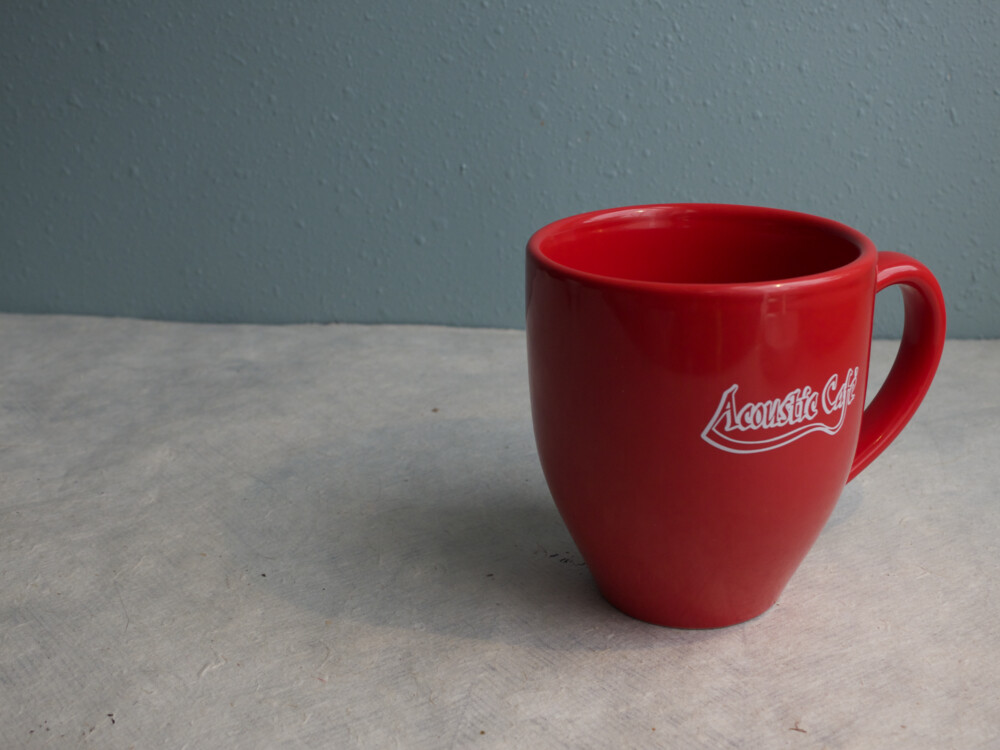
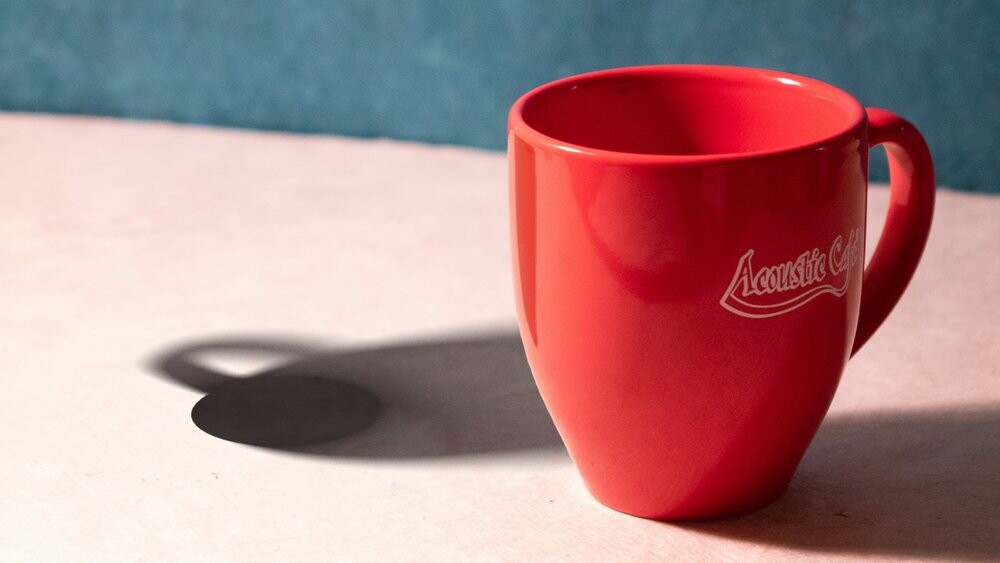
Original Still
This is the original picture before I have edited anything
Altered Ground
I altered the ground here in Photoshop to get a more textured ground surface to make the shadow look more like the original mugs shadow.
Shadow Mask
Then I added the shadow mask on top of the altered ground layer to get the base shadow.
Ambient Occlusion
Now I have add the ambient occlusion layer into the shadow mask to make the base of the shadow around the mug darker.
Original Mug Reflection
Then I brought in the reflection into the original mug that represents the twin mug we are bringing in.

Beauty Shadow
Then I bring in the beauty shadow to add a bit of color into my shadow to more closely match the two shadows.
Beauty Mug
Now I bring in the Mug layer and put it over all the shadow layers.
Mug Color Correction
Then I color correct the mug to make it look more like the original mug.

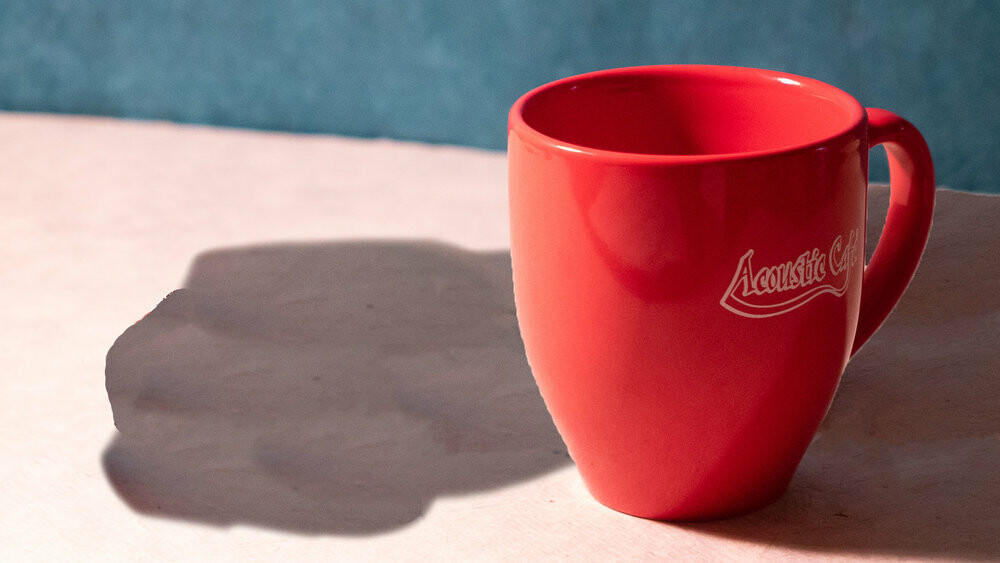
ZDefocus
Lastly I add the Depth of Field to make it fit more naturally with the rest of the photo.

Final
The final image fully composited.